What is a Resistor?
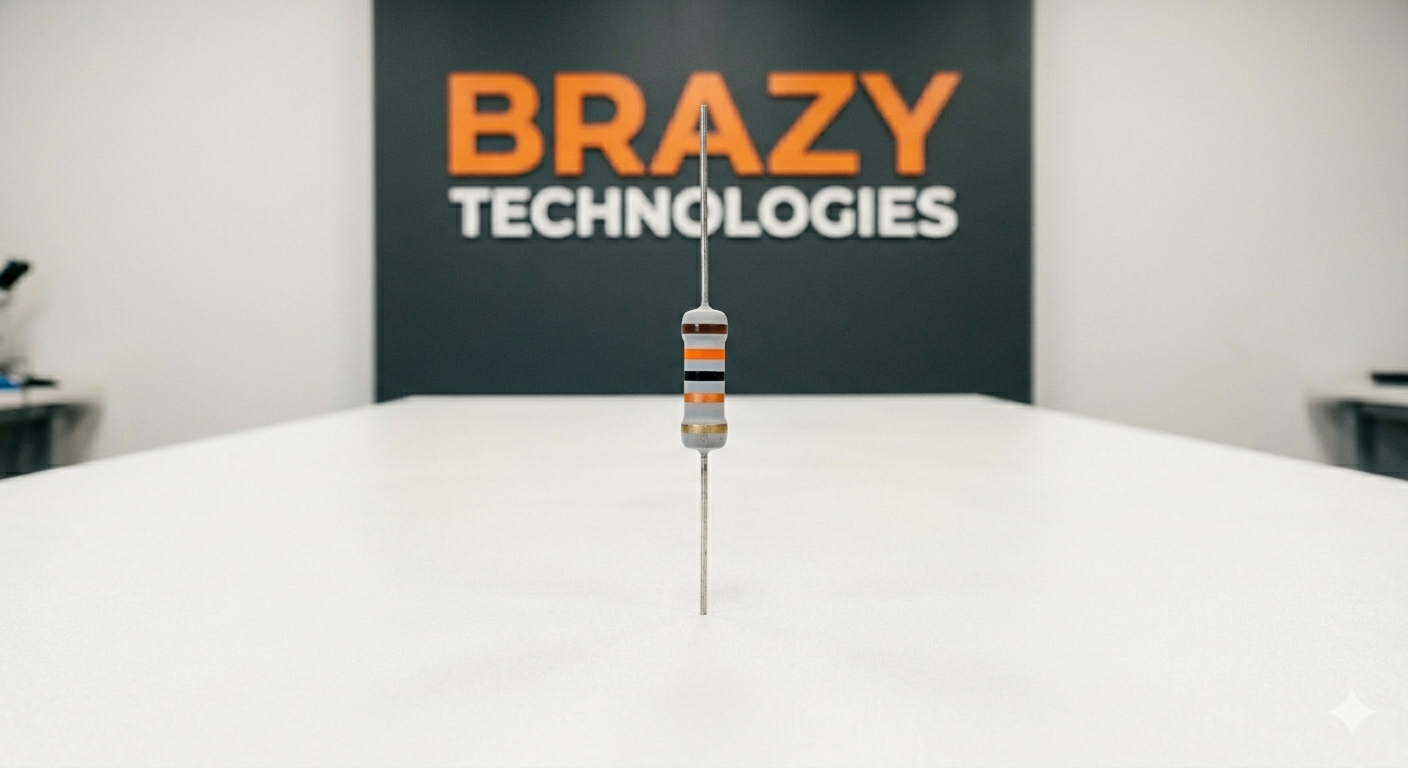
A resistor is an electronic component that limits or regulates the flow of electrical current in a circuit. Think of it like a narrow pipe that restricts water flow. The higher the resistance, the less current can flow.
Resistors are everywhere — in every phone, computer, TV, and power supply. They protect sensitive components from too much current and help set proper voltage levels.
Why Resistors Fail
Resistors rarely fail, but when they do, it’s usually because:
- Too much current passed through them (they overheat and burn)
- Age and heat cycles caused cracks
- Physical damage from drops or impacts
- Nearby component failure sent excess voltage through them
When a resistor fails, it usually either:
- Goes open circuit (infinite resistance) — most common
- Changes resistance value (drifts outside tolerance)
- Rarely — short circuits (zero resistance)
A burnt, cracked, or discolored resistor should be replaced immediately.
How to Read Resistor Color Codes
Most resistors use colored bands to indicate their resistance value.
4-Band Resistors (Most Common)
Band Meaning
Band 1- First digit
Band 2- Second digit
Band 3- Multiplier (number of zeros)
Band 4 -Tolerance
✨ Tolerance Colors
- 🟡 Gold = 5%
- ⚪ Silver = 10%
Example 1
Brown – Black – Red – Gold
- Brown = 1
- Black = 0
- Red = 2 zeros
Value:
10 with 2 zeros = 1000Ω = 1kΩ
Tolerance: ±5%
Example 2
Yellow – Violet – Orange – Gold
- Yellow = 4
- Violet = 7
- Orange = 3 zeros
Value:
47 with 3 zeros = 47,000Ω = 47kΩ
5-Band Resistors (More Precise)
Band Meaning
Band 1 --->First digit
Band 2 ---> Second digit
Band 3 --->Third digit
Band 4---> Multiplier
Band 5 --->Tolerance
Color Chart
Color Number
Black- 0
Brown- 1
Red - 2
Orange -3
Yellow - 4
Green -5
Blue -6
Violet - 7
Gray - 8
White -9
Multiplier Colors
Color Multiplier
Black- ×1
Brown - ×10
Red - ×100
Orange - ×1,000
Yellow - ×10,000
Green - ×100,000
Blue - ×1,000,000
Gold - ×0.1
Silver - ×0.01
Tolerance Colors
Color Tolerance
Brown - ±1%
Red - ±2%
Gold - ±5%
Silver - ±10%
No Band - ±20%
Quick Reference: Common Resistor Values
Value Color Code
10Ω =Brown Black Black
100Ω = Brown Black Brown
220Ω = Red Red Brown
330Ω = Orange Orange Brown
470Ω = Yellow Violet Brown
1kΩ = Brown Black Red
2.2kΩ = Red Red Red
4.7kΩ = Yellow Violet Red
10kΩ = Brown Black Orange
22kΩ = Red Red Orange
47kΩ = Yellow Violet Orange
100kΩ = Brown Black Yellow
1MΩ = Brown Black Green
How to Read Resistor Values in Schematics
Marking Meaning
100R or 100 =100Ω
1K =1,000Ω
4K7 =4,700Ω
10K =10,000Ω
100K =100,000Ω
1M =1,000,000Ω
Examples:
- 2R2 = 2.2Ω
- 4K7 = 4.7kΩ
- 1M2 = 1.2MΩ
How to Test a Resistor with a Multimeter
What You Need
- Digital multimeter
- Resistor to test
- Optional desoldering tools
Step 1: Power Off
Unplug the device.
⚠️ Never test resistors on a live circuit.
Step 2: Set Multimeter to Resistance Mode
Turn the dial to the Ω (Ohms) symbol.
Choose a range higher than the expected resistance.
Step 3: Test the Resistor
Place one probe on each lead.
Polarity does NOT matter.
Step 4: Read the Value
The multimeter will display the resistance.
Step 5: Compare to Expected Value
Example:
A 1kΩ resistor with 5% tolerance is acceptable between:
950Ω → 1050Ω
In-Circuit vs Out-of-Circuit Testing
✅ Out-of-Circuit (Best Method)
- Most accurate
- Resistor removed from board
In-Circuit (Quick Test)
- Faster
- Other components can affect readings
- Lower readings are common due to parallel paths
📌 Simple Rule:
- Higher than expected = BAD
- Lower than expected = Remove and retest
🚨 Signs of a Bad Resistor
Visible Signs
- Burnt body
- Cracks
- Melted casing
- Discolored bands
Electrical Signs
- Infinite resistance (open circuit)
- Value far outside tolerance
- Reading higher than spec
Device Symptoms
- Device won’t power on
- Incorrect voltage output
- Overheating nearby components
Common Resistor Failure Locations
Look around:
- 🔌 Power supply input sections
- ⚡ High-current paths
- 🔥 Near failed capacitors
- 🎚️ Voltage divider circuits
- 🛡️ Current limiting circuits
How to Replace a Bad Resistor
Tools Needed
- Soldering iron
- Desoldering pump/wick
- Replacement resistor
- Pliers
- Flux (recommended)
Step-by-Step
- 📸 Take a photo first
- 🔥 Heat one solder joint
- 🔥 Heat second joint and remove resistor
- 🧹 Clean pads
- 📌 Insert new resistor
- 🧲 Solder both leads
- ✂️ Trim excess leads
- 🧼 Clean flux residue
Resistor Wattage Ratings
Wattage Usage
1/8W Compact devices
1/4W General electronics
1/2W Power supplies
1W+ High-current circuits
Important Rule
Always replace with the same or HIGHER wattage.
Never use lower wattage.
Pro Technician Tips
Tip 1
Keep common resistor values in stock.
Tip 2
Match resistance value EXACTLY.
Tip 3
If a resistor burned, something CAUSED it.
Find the root problem first.
Tip 4
- Carbon film = common repairs
- Metal film = more precise
Tip 5
Use resistor calculator apps while learning.
Practice Exercise
Use a junk board and practice:
- Identify 10 resistors
- Decode color bands
- Measure with multimeter
- Compare values
- Replace several resistors
Repeat until recognition becomes automatic.
📌 Summary: Key Takeaways
✅ Resistors limit current flow
✅ Color bands show resistance value
✅ 4-band and 5-band resistors are most common
✅ High resistance reading = bad resistor
✅ Replace with exact resistance value
✅ Wattage can be same or higher
✅ Burnt resistor = another fault likely exists
Want to Master Component-Level Repair?
The full masterclass covers:
- 📘 Reading schematics
- 🔍 Troubleshooting without schematics
- 🛠️ Professional repair techniques
🎓 Join the waitlist for:
- Early access
- Certification program
- Advanced repair training